No products in the basket.
Branded Workwear
How to Apply Logos to Fleece Jackets for Work
08
Nov
Nov
A fleece jacket is often the layer staff reach for first on a cold morning, at an outdoor event or between jobs. That makes the branding highly visible – and it needs to stay smart after regular wear and washing. To apply logos to fleece jackets properly, start with the fleece itself, the logo detail and how the garment will be used, rather than treating every decoration method as interchangeable.
For most workwear orders, embroidery is the dependable choice. It gives a professional finish, suits the texture of fleece and stands up well to repeated laundering. Print can also be the right answer, particularly for large, simple designs or garments where stitch density would make the area stiff. The best result comes from matching the decoration to the job.
Choose embroidery or print for fleece jackets
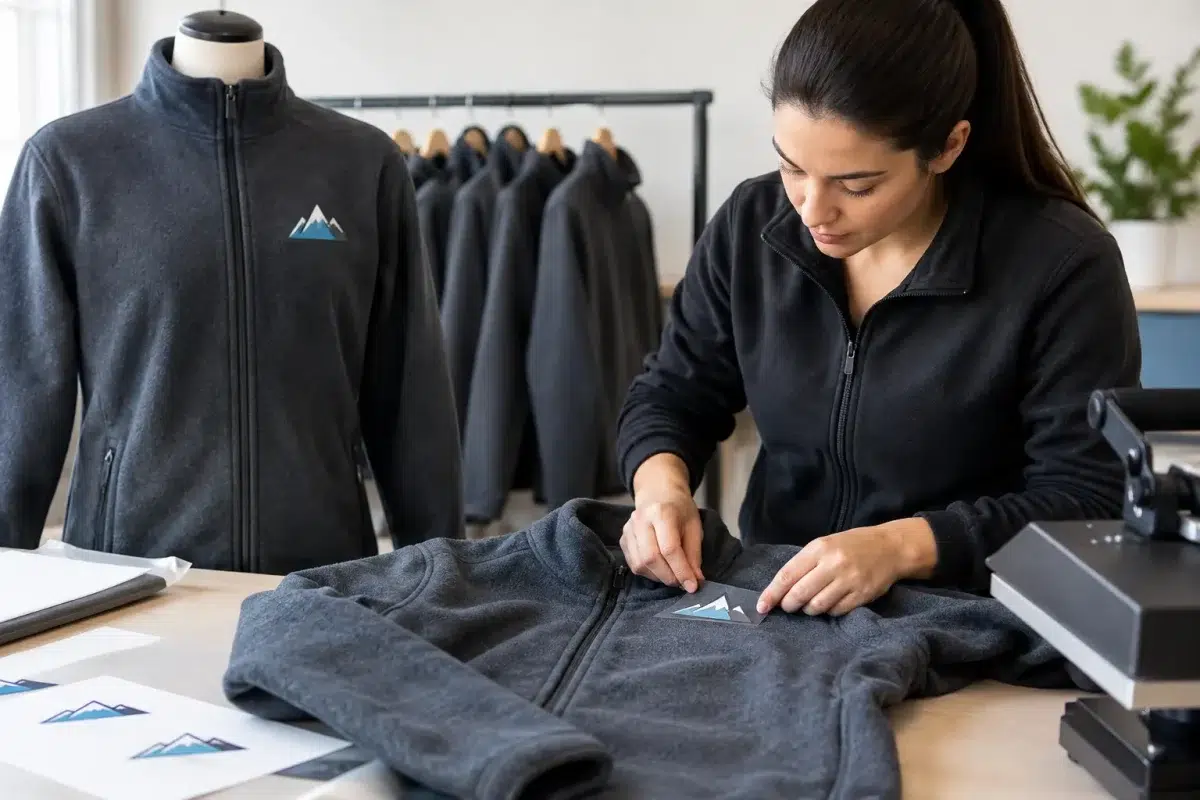
Embroidery is the standard option for a left-chest company logo. It is durable, clear and gives teams a consistent uniform appearance across fleeces, polos, sweatshirts and outer layers. It works especially well for straightforward logos, lettering and badge-style artwork.
Fleece has a raised surface, so embroidery needs careful set-up. A proper backing supports the stitches, while the digitised embroidery file controls stitch direction, density and underlay. Without that preparation, small text can sink into the pile and fine lines can lose definition. Good logo conversion is not a minor production detail – it determines whether the finished badge looks clean from a few metres away.
Printing is worth considering for a larger back logo, a bold one-colour design or artwork with colour blends and very fine detail. However, not every fleece is suitable for every print process. The fabric composition, pile depth and finish affect adhesion and final appearance. A smooth-faced microfleece may take print more readily than a deep-pile fleece. Where print is selected, testing the intended garment and artwork combination is sensible before committing to a larger run.
There is also a comfort consideration. A densely embroidered large back design can feel heavy and make the fleece less flexible. On the other hand, a broad printed area may alter the feel and breathability of the fabric. For a practical uniform, the logo should look the part without getting in the way of the wearer.
Where to apply logos to fleece jackets
The left chest remains the most common placement because it is easy to identify, works with most logo shapes and leaves the rest of the garment functional. A typical embroidered chest logo is compact enough to sit neatly above a pocket or alongside a zip without pulling the fabric.
Back branding is useful when staff need to be recognised at a distance. Event crews, security teams, tradespeople and delivery staff may benefit from a larger company name or a simple role identifier across the upper back. Keep the artwork clear and avoid placing it too low, where it can be hidden by a bodywarmer, tool belt or vehicle seat.
Sleeve branding is effective for short web addresses, departments or secondary marks, but it is not the place for detailed logos. The curved seam and movement of the arm can make small elements harder to read. If teams need both a company logo and individual identification, a chest logo with a printed or embroidered name on the opposite chest is usually easier to manage than crowding one area.
Think about the full uniform, too. If the fleece is worn over a polo or hoodie, using the same chest position across garments creates a consistent look. This matters when staff add or remove layers during a shift but still need to look recognisably part of the same team.
Keep clear of seams, zips and pockets
Decoration should not cross a centre zip, chest pocket opening, seam or elasticated panel. These areas can distort the logo and make production more difficult. The same applies to awkwardly shaped panels around the shoulder or collar.
A garment mock-up is useful for checking placement before production. It helps confirm that the artwork is proportionate to the jacket size and that key parts of the logo are not too close to a zip or edge. This is particularly valuable where multiple garment styles are being ordered together, as pocket positions and panel cuts vary between ranges.
Prepare artwork before placing an order
The cleanest finished fleece starts with suitable artwork. Vector files such as AI, EPS or PDF are generally preferred for print because they can be scaled without losing sharpness. For embroidery, a clear high-resolution logo gives the production team the best starting point for digitisation.
Do not assume a logo that looks sharp on a screen will stitch well at chest size. Fine lettering, narrow gaps, gradients and small trademark details may need simplifying. That is not a compromise in quality. It is a practical adjustment so the logo remains legible when stitched into a textured garment.
Provide the original logo where possible, along with any brand guidelines or specified thread colours. If a corporate colour is important, matching it as closely as possible using available thread or print colours should be agreed before the main run. Thread has a sheen that can make a colour appear different from flat ink, especially under warehouse lighting or outdoors.
For repeat orders, keep the approved artwork, logo dimensions and placement details on record. Consistency matters when new starters join, sites order separately or garments are replaced over time. A controlled set-up avoids a situation where one department receives a noticeably larger logo or a different shade of thread.
Select a fleece that suits the working environment
Branding quality only goes so far if the fleece is wrong for the job. Lightweight fleeces suit indoor-to-outdoor teams and active roles where freedom of movement matters. Heavier anti-pill fleeces are a better fit for regular outdoor work, site visits and colder premises. Softshell jackets may be more appropriate where wind resistance and a more structured outer layer are needed.
For workers who require high-visibility protection, use a compliant hi-vis fleece rather than adding branding to a standard garment and assuming it is suitable. Decoration must be positioned so it does not interfere with reflective tape or required fluorescent background material. The relevant garment standard and the planned logo area should be checked before production.
Similarly, consider laundering. Care teams, cleaning contractors and food-related operations may wash uniforms more frequently than an office-based team. Choose a garment and decoration method that suit the expected wash routine, then issue clear care guidance. Excessive heat, aggressive chemicals and ironing directly over print can shorten the life of decoration.
Plan quantities, names and issue requirements early
A well-planned order prevents costly changes once production has started. Confirm garment colour, size breakdown, logo placement, decoration method and any individual names or job roles before approving the order. Names should be supplied in a checked spreadsheet, with the exact spelling and capitalisation required. It is much easier to correct a list before garments are branded than afterwards.
For larger teams, it also helps to group orders by department, site or wearer. Individual packing can save significant time for an administrator who would otherwise be sorting dozens or hundreds of garments on arrival. This is particularly useful for construction contractors, care providers, event teams and organisations issuing starter packs across several locations.
Allow for future requirements rather than only the immediate headcount. Ordering a little additional stock in the same garment range can make replacements simpler, although branding should still be controlled so later additions match the original order. If uniform requirements are likely to change seasonally, consider whether a coordinated range of fleeces, hoodies, polos and jackets will give staff workable options throughout the year.
Get approval before production
A final visual approval should cover the garment colour, logo size, position, thread or print colours and all variable information. This is the point to check practical details: can the chest logo be seen when the fleece is zipped, does the back text remain readable at distance, and is the design suitable for every size in the order?
For organisations ordering across several sites, nominate one person to approve the artwork and specification. It reduces conflicting instructions and gives procurement teams a reliable reference for reorders. Vivid Promotion can support this process by converting suitable artwork for the chosen decoration method and organising branded garments in a way that is ready to issue.
A branded fleece should earn its place in the uniform cupboard. Choose a garment staff will actually wear, keep the logo clear and durable, and set the order up so every jacket arrives ready for the working day.