Branded Workwear
Embroidery That Works on Busy Building Sites
Feb
On a live site, uniforms do more than look tidy. They have to survive scaffold clips, tool belts, wet mornings, cement dust, and constant washing, all while keeping your team identifiable to clients, principal contractors, and the public. That is exactly where embroidery earns its keep – but only when it is used on the right garments, in the right places, with the right stitch set-up.
Why embroidered workwear for construction is still the default
Embroidery is hard-wearing because it is physical thread stitched through the garment. For most construction teams, that matters more than a perfect, flat finish. A stitched logo will take repeated laundering, abrasion from straps, and the general battering that comes with site work.
It also reads well at a distance. On a job where multiple trades are moving in and out, an embroidered chest logo helps supervisors, clients, and visitors quickly see who is who. That might sound like a minor point, but it reduces friction on site – fewer questions at the gate, fewer mix-ups when materials arrive, and clearer responsibility when the client is walking the project.
There are trade-offs. Embroidery adds puncture holes and can slightly stiffen the fabric where it is stitched. On the wrong garment, that can reduce comfort or compromise performance. The aim is not to embroider everything. The aim is to embroider what will last and print what should stay sealed or flexible.
Choosing garments that suit embroidery on site
Construction workwear sits across a few common layers: base (polos and tees), mid (sweatshirts, hoodies, fleeces), outer (softshells, coats, bodywarmers), plus trousers, coveralls, headwear, and hi-vis PPE. Not every item is an equal candidate for stitching.
Polos, sweatshirts, hoodies, fleeces and many softshells handle embroidery well because the fabric has enough body to hold the stitches without puckering. A left chest logo is the standard because it stays visible under a hi-vis vest and does not get distorted by bending the way a large front print can.
Bodywarmers are a strong option for construction crews because they give warmth without restricting arm movement. Embroidered logos work well on the chest, and on many styles you can also stitch on the back panel if the fabric is stable and the lining allows it.
Coats and waterproof shells are where you need to slow down. Needle holes can compromise waterproof membranes and taped seams, and heavy embroidery can affect how a garment drapes. If waterproof performance is the priority, print is often the safer choice. If the coat is more of a showerproof outer layer and the branding is kept small and positioned away from seams, embroidery can still be suitable – but it depends on the garment construction.
Trousers and coveralls can be embroidered, but placement matters. Logos on thigh areas take more abrasion, especially where kneeling, tool pockets, and harnesses rub. If you want branding on legwear, consider a smaller mark in a low-wear area, or reserve embroidery for upper-body items and keep trousers purely functional.
Headwear is a practical win: beanies and caps are regularly worn on site and are easy to issue. Embroidery tends to look clean on caps; on beanies, a simple logo works best because fine detail can get lost in the knit.
Logo placement that works with PPE, not against it
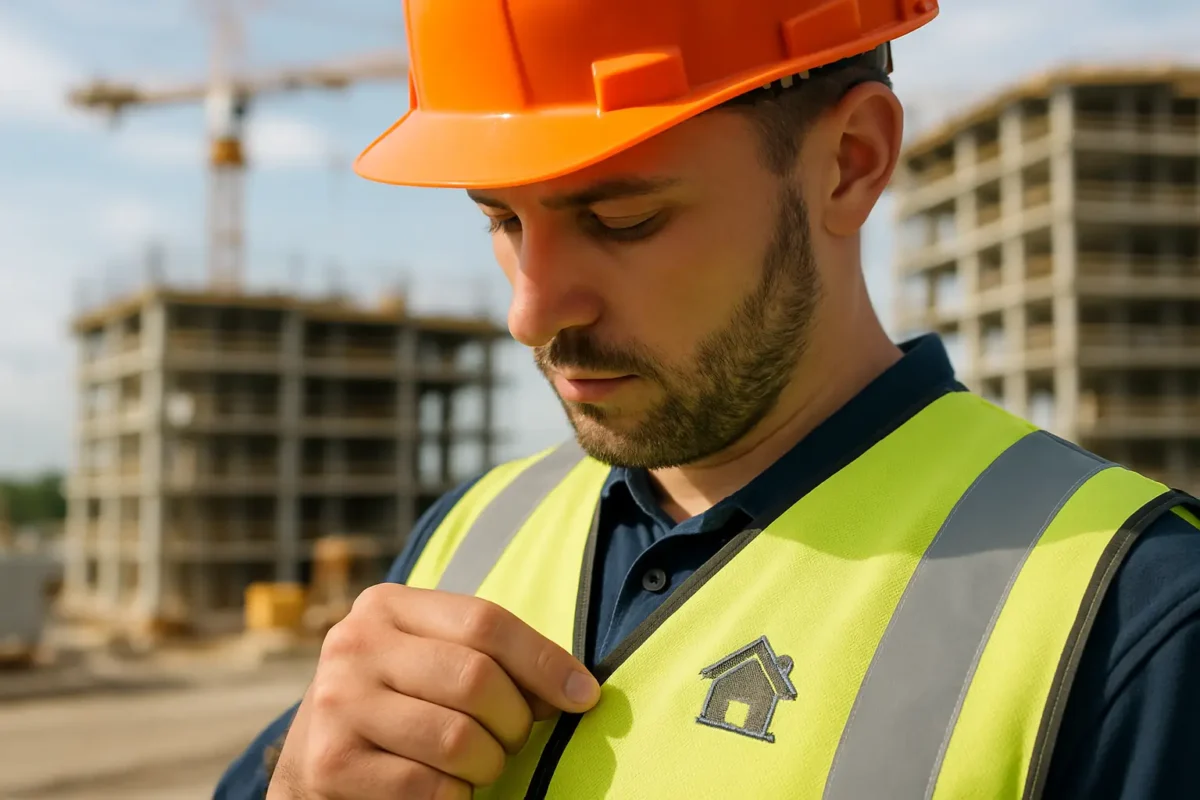
A lot of construction teams wear hi-vis vests or hi-vis jackets as the top layer. That changes what is worth branding.
If your crew usually wears a hi-vis vest over a sweatshirt, then the logo on the sweatshirt chest will be covered most of the day. In that case, embroider the hi-vis itself, or use the sweatshirt branding as secondary for breaks, travel, and off-site work. Many companies do both: a small chest logo on mid-layers for consistency, and a branded hi-vis layer for visibility on site.
Back branding is useful when you need quick identification from behind – for example, supervisors, traffic marshals, or teams working in public-facing areas. The trade-off is wear and tear. A large embroidered back logo can be uncomfortable under harnesses or when carrying boards. Print is often a better option for big back marks, keeping embroidery for the chest.
If you are adding names, keep them practical. First name only is usually enough and avoids the admin of frequent re-orders when people leave. Names also need consistent placement so they do not interfere with pocket access or zipped panels.
Embroidery vs print: where each one makes sense
You do not need to pick one method for everything. Most construction uniform sets use both.
Embroidery is the go-to for everyday durability on stable fabrics: polos, sweatshirts, hoodies, fleeces, caps, and many bodywarmers. It gives a professional finish and handles repeat washing without cracking or peeling.
Print often wins on garments where puncturing the fabric is a problem, where you need large coverage, or where the material is very stretchy or thin. Hi-vis is a common example. Depending on the garment and the reflective tape layout, print can be easier to position without interfering with compliance features.
There is also a visibility consideration. A stitched logo can look smart but not necessarily high-contrast from a distance. If your branding needs to be read quickly on a busy roadside job, a printed back mark in a bold colour can be more effective than dense stitching.
The best approach is usually mixed: embroidered chest logo for day-to-day smartness and longevity, plus printed back branding where you need size and legibility.
Detail in your logo: what embroidery can and cannot do
Embroidery is not a photo. Fine lines, tiny text, gradients, and complex shading do not translate well into thread at small sizes.
If your logo has very small lettering, it may need simplifying for embroidery so it stays readable and does not fill in over time. That is not a downgrade – it is normal. Most companies end up with an embroidery-friendly version that keeps the core shape and text legible.
Colour matching is also slightly different to print. Threads are selected from stock ranges, so the goal is a close match rather than an exact Pantone hit every time. If brand compliance is strict, it is worth agreeing the thread colours once and keeping them consistent across repeat orders.
A practical note for construction buyers: if you have multiple departments or subcontract crews, you can keep the main logo consistent and differentiate teams with a small second line, a role title, or a colour-coded garment choice. That often reduces mistakes compared to trying to run completely different designs.
What “site-ready” embroidery looks like
On a building site, good embroidery is less about decoration and more about engineering. You want a logo that does not snag, does not pucker the fabric, and does not become uncomfortable under PPE.
That comes down to stitch density, backing choice, and positioning. Dense embroidery can feel like a patch on the inside of a garment. On mid-layers it is usually fine; on lighter polos it can be irritating, especially if it sits under a harness strap. Keeping the logo to a sensible size and using the right backing helps, as does avoiding awkward placements near seams, zips, or chest pockets.
If you are ordering for a mixed workforce – some on the tools, some in site management – you may want different garment options with the same logo. A site manager may prefer a softshell or a fleece; a groundworker may live in hoodies and hi-vis. Consistent branding across different garment types looks professional and makes re-ordering easier.
Ordering for teams: sizing, spares and re-orders
Construction teams change. People join, seasonal layers are added, and garments get damaged. A uniform plan that works is one you can keep running without a big admin burden.
Start by standardising a core set: a couple of branded tops, a warm mid-layer, and the correct hi-vis layer for the site requirements. Add optional extras like bodywarmers or softshells based on role.
Then think about spares. Having a small buffer of the most common sizes reduces downtime when someone rips a sleeve or when you onboard a new starter at short notice. If your logo is set up properly for embroidery, repeat orders are straightforward.
Packaging also matters more than people expect. If you are issuing to multiple sites or multiple gangs, individual name-labelled packs or per-employee bagging saves hours of sorting and avoids the usual problem of “all the mediums have gone missing”. That is the kind of practical fulfilment detail we build into orders at Vivid Promotion because it is what keeps site teams moving.
Getting it right on hi-vis and protective clothing
Hi-vis is not just another sweatshirt. It has to meet visibility requirements, and branding must not interfere with reflective tape or reduce the garment’s effective visible area.
Placement should avoid tape runs and seams, and the decoration method should suit the fabric. Embroidery can work on many hi-vis garments, but if the material is lightweight or if waterproofing is involved, print is often safer. The key is to treat compliance as the priority and branding as the secondary requirement, not the other way round.
If you are unsure, decide what the garment has to do first: stay waterproof, stay breathable, stay compliant. Then choose the branding method that respects that.
A quick way to decide what to embroider
If you want a simple rule that holds up in the real world, use embroidery on the items your team wears most days that take regular washing and abrasion: polos, sweatshirts, hoodies, fleeces, caps and bodywarmers. Use print where you need big visibility or where needle holes are a risk: many waterproof layers and some hi-vis applications.
The best uniform programmes are the ones that make sense at 6am in February when the rain is coming sideways and nobody has time to baby their kit. Choose garments that suit the work, brand them with a method that suits the fabric, and set things up so re-orders are painless – your team will feel the benefit every time they pull a clean, correctly branded layer out of the van.