Branded Workwear
Best File Formats for Embroidery Logos
Feb
If you have ever sent a crisp logo over for uniforms and then been told it needs “digitising”, this is why: embroidery is not printing. A printer can interpret pixels. An embroidery machine needs stitch instructions – where to run, how dense, which thread colour, and what order to sew.
So when people ask “what file format for embroidery logo”, the most useful answer is: it depends on whether you are sending a logo for digitising, or you are sending a finished embroidery file ready to run on a specific machine. Getting that distinction right saves days of back-and-forth and avoids the most common quality issues (ragged text, filled-in detail, and outlines that wobble).
What file format for embroidery logo depends on the stage
There are two stages in the embroidery workflow.
First, you have the artwork stage. This is the logo as you know it – your brand mark, your text, your colours. At this point the goal is simple: give your supplier the cleanest possible reference so the digitiser can convert it into stitches.
Second, you have the production stage. This is the digitised embroidery file (often called the “stitch file”). It is not a normal design file you can open in Word or Adobe apps. It is a set of machine-readable instructions, and it must match the type of embroidery machine being used.
If you are placing an order for embroidered workwear, most of the time you are sending artwork, not a production stitch file. Suppliers will digitise it to suit the garments you have chosen (polo vs softshell vs hi-vis, chest vs sleeve, and so on). If you already have a stitch file from a previous supplier, it can help, but it is not always a drop-in solution.
Best files to send for digitising (artwork stage)
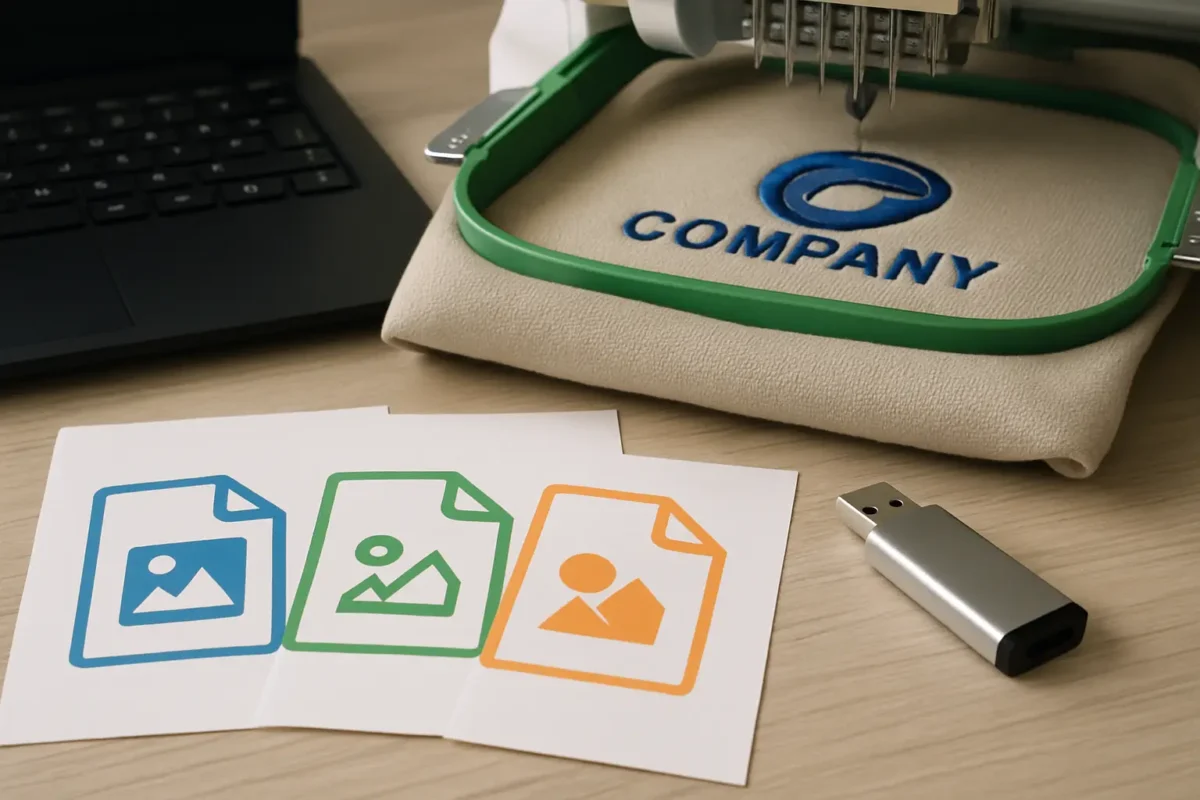
For digitising, you want a file that is sharp, scalable, and clear about shapes. Vector artwork is ideal because it does not pixelate when enlarged, which means the digitiser can see the true edges of letters and icons.
Vector files: AI, EPS, PDF (preferred)
An AI (Adobe Illustrator) or EPS file is usually the cleanest option. It retains editable paths, which makes it easier to interpret small text, borders, and negative space. A print-ready PDF can be just as good if it actually contains vector artwork (some PDFs are just a photo embedded inside).
If you can supply one of these, you typically get faster digitising and fewer clarification questions. It is also easier to match brand proportions and keep consistent spacing between elements.
High-resolution PNG (often acceptable)
If you do not have vector artwork, a high-resolution PNG with a transparent background is normally the next best thing. It is still a raster image, but at a decent size it gives a clear reference for shape and proportion.
The common mistake is sending a tiny logo copied from a website header or email signature. Those are built for screens, not production. They look fine on your monitor but fall apart when someone has to zoom in to recreate clean edges.
As a rule of thumb, send the largest version you have. If your logo includes fine lines or small text, larger is always better.
JPEG: use only if it is all you have
A JPEG can work as a reference, but it is the least helpful of the common formats because compression artefacts blur edges. That blurring can change how the digitiser interprets thin strokes and small gaps.
If you must send a JPEG, make it high resolution and avoid screenshots. Also avoid JPEGs with a background colour that merges into the logo – it makes it harder to confirm what is meant to be stitched.
Files embroidery machines actually run (production stage)
Embroidery machines do not run AI, EPS, PNG, or JPEG files. They run stitch files.
The stitch file format you need depends on the machine brand, and sometimes the software in the production department. That is why one supplier may ask for a DST, while another asks for PES or EXP.
DST: the most commonly requested stitch file
DST is widely used across commercial embroidery. It contains stitch data and is often considered a good “universal” option, but it is not perfect. Depending on how it is generated, it may not carry as much information about thread colour as other formats, and it can be less friendly for later editing.
If you are trying to bring an existing logo to a new supplier, a DST can be a useful starting point. Just expect that it may still need checking and, in some cases, rework to suit different garments or hoop sizes.
PES, EXP, JEF, VP3 and others
These formats are typically associated with specific machine families. PES is commonly linked with Brother-style systems, JEF with Janome, VP3 with Husqvarna Viking and Pfaff, and EXP is another widely used commercial format. There are plenty more.
None of these is automatically “better” in a quality sense. The quality comes from the digitising decisions – stitch type, density, underlay, pull compensation, sequencing – rather than the filename extension. The format mainly determines compatibility.
If you are not sure which stitch file you have, or what your supplier needs, do not guess. Send what you have and ask. Using the wrong format can mean the file will not load, or it will load with missing colour information.
Why your existing stitch file might not be suitable
It is tempting to think embroidery is like printing: same logo file, use it anywhere. In reality, a stitch file is built for a specific outcome.
A left chest logo on a polo is a different technical job from the same logo on a beanie, or on the sleeve of a softshell, or across the back of a hi-vis sweatshirt. The digitising may need changes in stitch density and underlay so it sits correctly on the fabric and does not distort.
Even the same garment type can vary. A thick fleece behaves differently to a smooth pique polo. A waterproof jacket may not be suitable for embroidery at all in certain areas because needle holes can compromise water resistance – print is often the practical option there.
This is why suppliers sometimes prefer to digitise from clean artwork rather than rely on an old stitch file of unknown origin. It gives control over consistency across your uniform range.
What to include with your file so production gets it right
File format matters, but so does context. A logo sent with no instructions often leads to the most time-consuming questions.
At minimum, specify where the logo is going (left chest, right chest, sleeve, back yoke), the approximate size in millimetres, and your preferred thread colours. If you have brand guidelines with Pantone references, include them. Thread is not ink, so colours are matched by eye against thread charts, but having the intended reference helps keep things consistent.
If the logo has small text, say what the smallest readable text must be. There are practical limits in embroidery: at small sizes, text can fill in. In those cases, the best result may be to increase the size slightly, simplify the mark, or switch to print for that placement.
Quick checks before you send anything
Most delays come from avoidable issues: tiny artwork, unclear colours, or logos built from gradients and fine detail that cannot translate into stitches.
Gradients are a classic example. Printing can reproduce a smooth fade; embroidery reproduces it by using stitch patterns and colour blends, which increases stitch count and can look busy at small sizes. Photographic detail is similar – it is usually better suited to print.
If your logo relies on hairline strokes, thin outlines, or very small negative spaces, expect trade-offs. A good digitiser can adapt it, but there may be a point where simplifying the design improves legibility and wear performance.
If you are ordering workwear, here is the practical approach
For most organisations buying uniforms, the simplest path is: send the best artwork you have (vector if possible), state placement and size, and let the supplier digitise to suit the garments.
If you already have a stitch file, send it as well, but also send the original artwork. That gives production options – they can test the stitch file if it is compatible, or re-digitise from scratch if it is not delivering the standard you need.
If you are coordinating multiple departments, this is where having one supplier manage your logo setup helps with consistency across polos, fleeces, hi-vis, and healthcare tunics. It reduces the risk of slightly different versions of the same logo appearing across teams.
For businesses that want an end-to-end workwear partner that handles embroidery and printing alongside practical fulfilment (including bulk delivery and per-employee packing), that is exactly the kind of workflow we build around at Vivid Promotion.
The bottom line: send vector artwork, not guesswork
When you ask what file format for embroidery logo, aim to supply vector artwork (AI, EPS, or a true vector PDF). If you do not have it, send the largest clean PNG you can. Stitch files like DST, PES, EXP, or JEF are for machines, and they are only useful when you know they match the production setup and the placement you need.
If you are ever unsure, do not spend time trying to convert formats yourself. Send what you have, explain where it is going on the garment, and ask for guidance. A clean handover at the start is the quickest route to uniforms that look consistent on day one and still look tidy after months of hard wear.